
It's Tee Shirt Time At Summer Camp

Color me happy! Today at Summer Camp, we are making Tie Dye
Mickey Head Tee Shirts. This project
took a little planning ahead of time but the results are totally worth it. The
best part, even if you are a craftily challenged person as I am, you can still
create these fun tee shirts for the entire family. Let’s get started!
Supplies for Mickey Tie-Dye Shirts

Tie-Dye Supplies or Tie Dye Kit (we got ours at Wal-Mart for under $10)
Soda ash (if not part of the
tie-dye kit)
100% white cotton shirt
Waxed dental floss
Sewing needle
Rubber bands
Pencil
Paper
Plastic wrap
Ziplock Bags
Gloves
Plastic tablecloth to protect your crafting
area (we did this project outside)
Tip:
This project can be very messy. Be sure to wear
junk clothes and a pair of gloves during the tie-dye process.


Step-by-Step Instructions for
Making a Mickey Tie-Dye Shirt
1.
Pre-wash the 100% cotton white shirt.
2.
Soak the shirt for about 20 minutes in soda ash. The soda ash helps to make the
tie-dye colors more vivid in the finished product.
3.
Draw a Mickey Mouse head silhouette on the paper. I actually used my Cricut machine
to make the Mickey head using the Disney Font cartridge. You can also find Mickey silhouettes online.


4.
Trace the Mickey Mouse head onto the shirt using a pencil.


5.
Use waxed dental floss to hand sew a running stitch (basting stitch) around the
Mickey head. The waxed dental floss helps to keep the dye from leaching past
Mickey's head.


6.
Pull the dental floss tight so that the Mickey Head puckers upwards. Pull it
towards you.
7.
Take one rubber band and wrap it around the shirt just under Mickey's head. Be
sure a little of the shirt is between the rubber band and the dental floss
outline.
8. Grasp the base
of the Mickey Mouse head and choose one tie-dye color to apply. Die the Mickey
head from the top down until you reach the dental floss. The rubber-banded area
will give you a nice white area surrounding the tie-dyed Mickey head.
9. Cover the dyed
Mickey head portion of the shirt in plastic wrap to protect it from getting
other colors on it.
10. Grasp the
Mickey Mouse head and begin to twist the shirt gently in a circular motion.


11.
Keep twisting until the shirt is a round shape. Larger shirts will take more
twisting while kid's shirts will twist up more quickly. Your twisted shirt
should look rounded with multiple pleats.
12.
Take the rubber bands and band the shirt across the diameter until it resembles
a sliced pizza. Be sure the rubber bands are tight and hold the shirt together
completely. You should be able to pick up the banded shirt as one unit without
any pieces of the shirt falling out of the round pizza shape.


13.
Use the remaining colors in your tie-dye kit to dye the bottom pizza shaped
portion of the shirt. You can overlap the colors to make interesting patterns
and to produce different shades of color. Just be careful to think about our
color wheel-too many colors will leave you with a brown shirt.


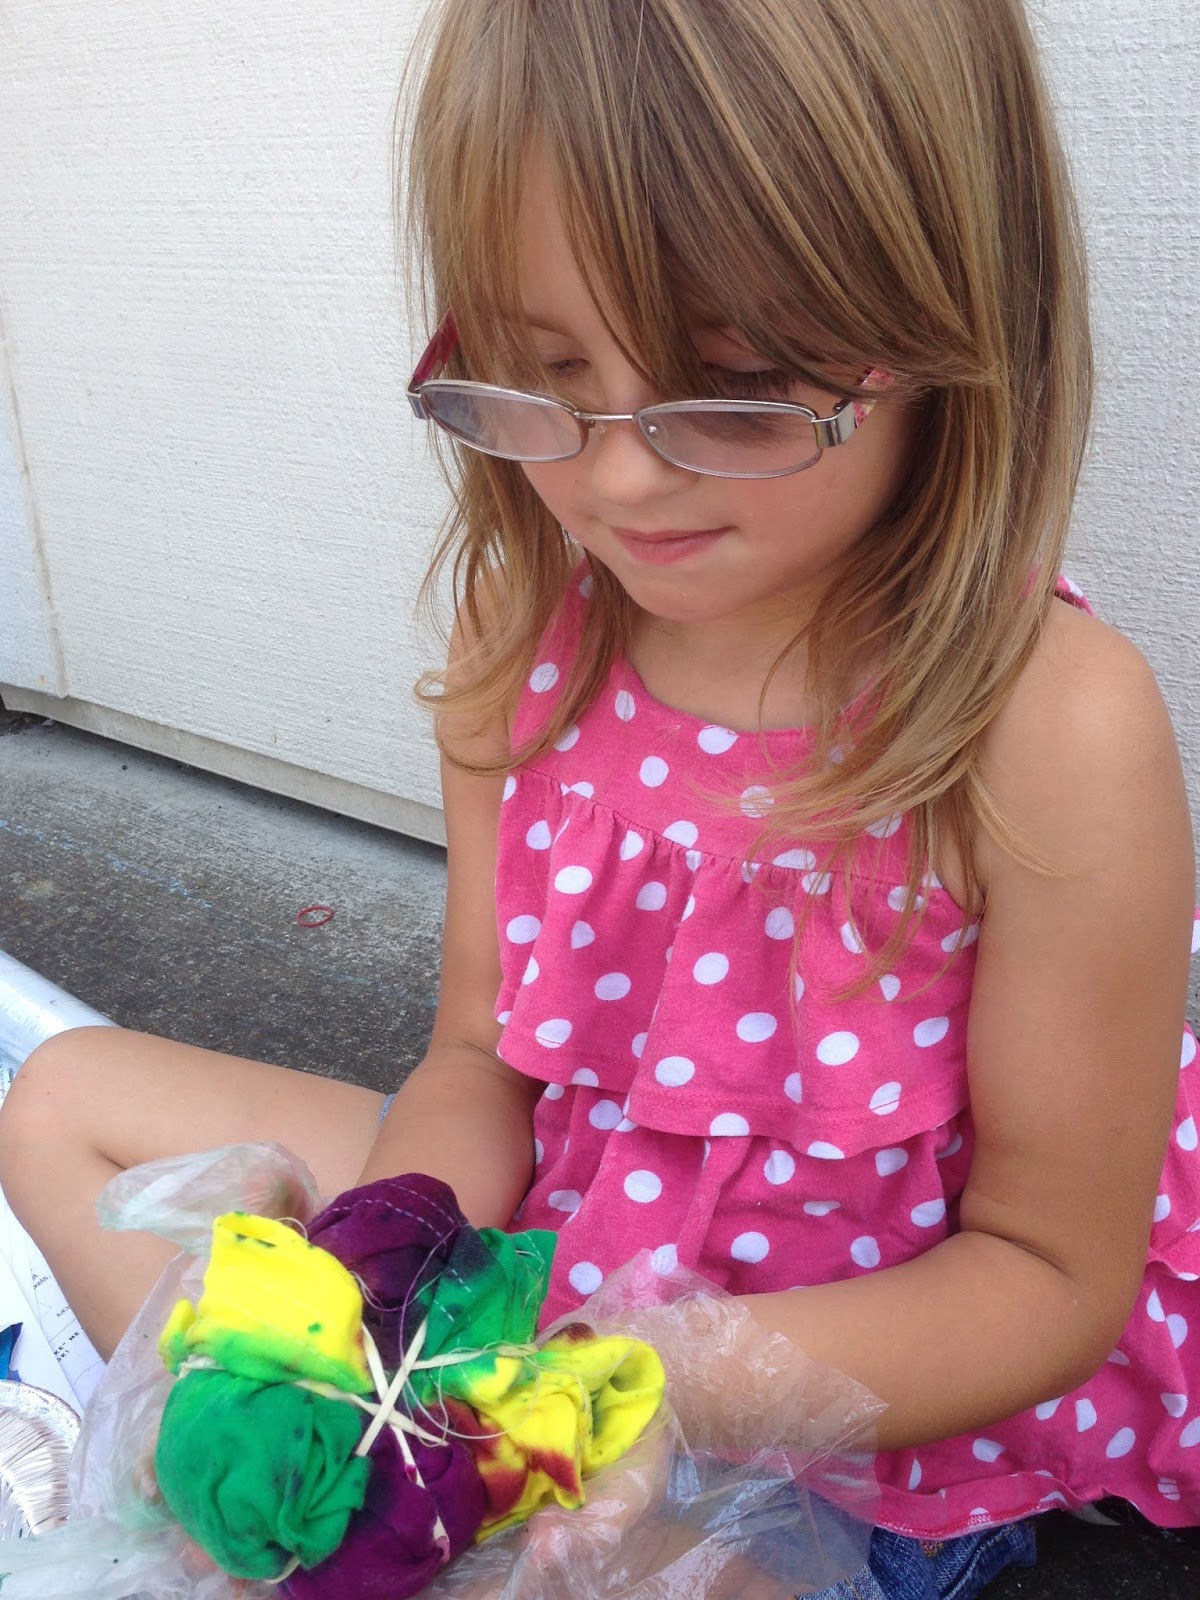
14.
Place the tie-dyed shirt in a Ziplock bag and let it sit for at least 6 hours.
You can let it sit for 24 hours for maximum vividness.
15.
Take out the shirt from the Ziplock bag,
remove the rubber bands and rinse until the water is clear.
16.
Wash the shirt one time in the washing machine with soap and cold water and
dry.
17.
Wear your shirt and make every day a Disney day!


Mickey Mouse Tie-Dye Shirt Embellishment Options
You have unlimited embellishment opportunities. Use your imagination.
1. Add hot-fix crystals for extra sparkle.
2. Write the person's name under the Mickey head using fabric paint.
3. Write the event/location/family name on the back using fabric paint.
4. Use glow-in-the-dark fabric paint for a fun night look.
Thanks to all of you for putting
out the challenge to create these shirts! A special thank you to my daughter in
law Nicole who was the real brains and talent behind this week’s project. Be
sure to send us your pictures of how your shirts turned out and see you next
week at Summer Camp.
Looking for other fun ideas to use with the kids this summer? Check out our other posts from Summer Camp
Summer Camp Easy to Grow Seeds
Summer Camp Homemade Ice Cream
Summer Camp Lowe's Build and Grow and other Free Field Trips
 |
| I "heart" Mickey |
Summer Camp Easy to Grow Seeds
Summer Camp Homemade Ice Cream
Summer Camp Lowe's Build and Grow and other Free Field Trips
Gayle is a Disney Gal that loves churros for breakfast, still gets giddy with delight at the first sight of the “Disneyland next exit sign”, loves the overwhelming emotions and memories that come with each and every return to the Happiest Place on Earth and dreams of one day being the Captain of the Jungle Boat. To learn more about Gayle, click here
Wow! The shirts look great! We need activities for family week at the cottage soon and I am sharing this idea with my MIL. I think this could work!! Good job Ms. Gayle :-)
ReplyDeleteSuz
Okay I will now have to try this one with the kids~
ReplyDeleteSuz and Judy, They were definitely fun, messy but fun! And if I can do them, anyone can do them. The ones that didn't quite look like a Mickey, perfect hearts for sure and if you're lucky enough to have a creative helper as I did in Nicki, there's nothing you can do! Homemade playdough and glow in the dark flubber is on board for next week!
ReplyDeleteI love your article about Clothing & Laundry. It makes me think to buy some new clothes.
ReplyDeletehttp://www.apparelnbags.com/van-heusen/index.htm